One easy way to ruin the appearance of a good-looking car is by allowing buffing marks to build up. The scratches often occur on your car’s finishing and form a continuous ‘spider web’ pattern of swirl marks throughout the car’s finish. Multiple factors contribute to swirl marks, including improper car cleaning and drying techniques, but removing buffing marks is relatively easy and only requires the right equipment and a little practice.
Here’s how to remove buffing marks on a car:
- Inspect the buffing marks.
- Determine the depths of the buffing marks.
- Find a well-shaded location.
- Get the right tools.
- Perform a deep cleaning.
- Remove the buff marks.
- Seal the car’s surface with a wax coating.
Keep reading this article for a detailed outline of the steps involved and the tools required for easy DIY buffing marks removal for your car. This article should empower you enough to get the requisite tools and buff your car.
1. Inspect the Buffing Marks

The first step in any buffing marks removal process involves inspecting the car because it’s essential to know what problem you’re dealing with.
You need enough natural light for a proper inspection because swirl marks are fine scratches that are hardly visible under low light.
Inspecting your car under adequate sunlight allows you to observe the vehicle from different angles and see all the swirl marks.
Moreover, observing your car from various angles is essential for a good view as it adjusts for the reflected light off the paint. Therefore, take your car to a place with enough light and inspect its finishing to determine how far the buffing marks spread.
Additionally, consider getting a second unbiased opinion from someone else to ensure you don’t miss crucial spots with swirl marks.
Once you have someone willing to look your car over, don’t tell them of your observations. Instead, ask them to assess the car for swirl marks and compare with your findings to avoid missing spots.
2. Determine the Depths of the Buffing Marks
After inspecting the car to determine the extent of the buffing marks, it’s time to determine their depths. This entails finding out how deep the swirl marks run into the painting layers on the car.
Usually, vehicles have varying numbers of protective painting layers. High-end cars have almost eight or nine protective coatings, while other cars have two or three. Such factors significantly impact the depth and frequency of the buffing marks on the car.
Deeper swirl marks are difficult to remove compared to surface swirl marks and thus require professional-grade buffing marks removal equipment. They also take more time and need more experience to identify than surface-level marks.
Usually, experienced professionals can assess the depth of swirl marks at a glance with little trouble, given their years of experience.
For DIY buffing marks removal, run your palm on the car’s surface first to feel the general outline of the scratches. Then, repeat the process, but this time using a fingernail. You’ll know your car has deep swirl marks running into the coating if you can feel scratches with your nail.
CarCareReport dot com is owner of this article and was first posted on Sep 22, 2022 and was updated on ..
Another simple test to determine the depth of the swirl marks is by running water over the car surface. The buffing marks are deep if you can see the scratches through the water.
Please note that you cannot remove deep scratches entirely without damaging the paint, especially when they’re so deep that you can feel them with your nail.
In this case, your best option is to soften or smoothen the scratch. Consider taking the car for repair at a professional body shop. Hiring professionals to handle complex problems preserves your car’s paintwork and saves you additional costs from exacerbating the problem.
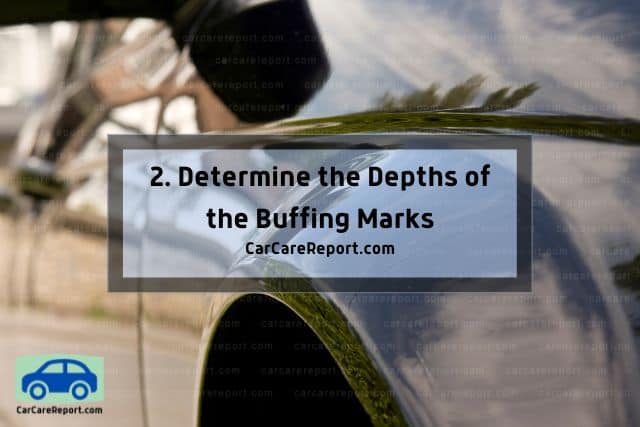
3. Find a Well-Shaded Location
After determining the extent and depth of swirl marks on the car, the next step is to move it to a well-shaded location. Take your car to a place without strong wind and direct sunlight before starting the buffing process.
Taking the car to a well-shaded location allows you to work comfortably without interruption from the weather. You should remember that buffing a car can take a long time, depending on the depth and intensity of the scratches on your car.
Additionally, working in a well-shaded location is important because it prevents dust from sticking to the car’s surface as you continue buffing. Working in an environment that allows dirt to stick on the car as you work also adds to the workload, causing the process to take longer.
4. Get the Right Tools
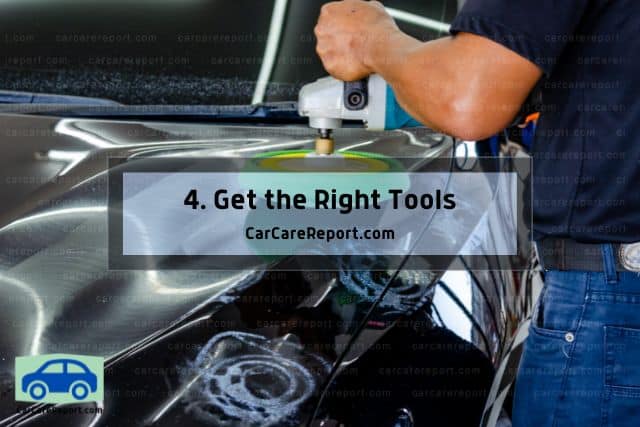
Now that you have identified the swirl marks and moved your car to a suitable location, the next step is to get the right tools and products you need for the job. Depending on how much buffing work your car requires, you may need a wide range of tools and products.
Therefore, you have to assess your situation and determine the most appropriate tools. Below are some essential tools and products you need to remove buffing marks effectively:
- Clay bar. You need a clay bar to remove contaminants such as metal dust and road grit from the car’s surface. I recommend the IPELY 4 Pack Clay Bars. They’re easy to use and convenient; you can use them on glass, paintwork, polished metal, and clear optical plastics like headlights and tail lights.
- Microfiber towels. Consider using Amazon Basics Microfiber Cleaning Cloths. These towels are ultra-soft and non-abrasive, thus ideal for cleaning vinyl, glass, and paint finishes without scratches. They’re also absorbent and fit for use with dry and liquid cleaners.
- Buffer and polishing pads. Polishing pads are handy when removing buffing marks from relatively smaller surfaces. I recommend the ZFE Waffle Foam Buffing Pads. They’re high quality and suitable for polishing and buffing work on cars, glass, stone, ceramics, etc.
- Car wax. Car wax provides a protective layer to the freshly buffed coat. I recommend CAR GUYS Hybrid Wax. It’s streak-free, safe for any surface, and offers long-lasting protection.
- Iron/fallout remover. You need a handy remover to clear stubborn iron contaminants from your car’s surface. Consider buying the Gtechniq Fallout Remover when planning for this step. It’s designed to remove fallout and brake dust, and it’s an effective corrosion inhibitor.
- Car shampoo. Car shampoo is essential for proper cleaning and lifting dirt off your car’s surface. I recommend Adam’s Car Wash Shampoo for deep cleaning, as it’s safe for all surfaces, including rubber, windows, vinyl, and plastics.
- Polishing compound. Removing scratches effectively from your car’s surface requires a quality, professional-grade polishing compound. They’re effective in cleaning oxidized finishes and removing scratches and stubborn stains. I recommend trying Turtle Wax Scratch Remover. It’s safe for all car finishes, painted metal, and chrome.
- Swirl removing machine. You have the option of manual or electric buffing marks removal. In manual removal, you need applicator pads (used with your hands) compared to electric removal, which uses motorized polishers. Consider acquiring a buffer machine like The Adam Swirl Killer Polisher. The device is versatile and can also be used when scrubbing carpets and applying sealant.
In addition to these tools and products, you also need essential supplies, including buckets, a hose and spray, and a water source.
I also recommend that you get safety gear (such as gloves) to protect yourself when handling the swirl removing chemicals.
5. Perform a Deep Cleaning
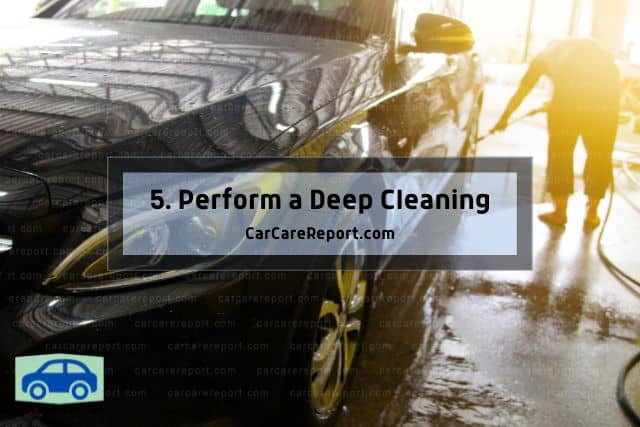
You should be ready to proceed to the cleaning stage after acquiring the necessary supplies.
Start by performing a deep cleaning of the car’s exterior before softening or removing the buff marks. Deep cleaning is crucial at the beginning of the buffing marks removal process because it removes debris and dirt loosely attached to your car’s surface.
If you proceed to remove the swirl marks before cleaning and drying the car surface, you risk exacerbating the scratches and creating new dents when brushing the surface.
Get water, a sponge, and a wash mitt and use them to thoroughly clean and dry the car’s exterior, preparing it for swirl marks removal.
The Chemical Guys Wash Starter Kit is one must-have product for car owners looking for safe, reliable, and convenient cleaning options. It contains various professional-grade products essential when cleaning your car’s interior, dash, and wheels.
6. Remove the Buff Marks
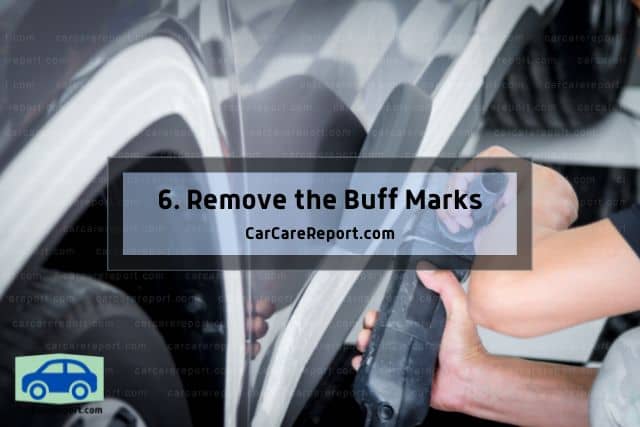
Now, onto the essential part of the process – removing the buffing marks.
After cleaning and drying the car in preparation for buffing, use a clay bar to remove any contaminants attached to your car’s surface.
The clay bar removes the small particles and debris attached to the swirl marks that survived the deep cleaning process. Scrub the surface with swirl marks until the clay bar turns grey, indicating it has absorbed all the dirt. Alternatively, if you don’t have a clay bar, you can use a wash mitt to achieve the same result.
Apply a swirl remover or polishing compound to buff and polish the paint in an affected region to remove the scratches. You can do this using your hand and applicator pads for relatively small surfaces or machine polishers for deep scratches and large surfaces.
Exercise caution when applying the polishing compound by avoiding the application of excessive quantities. Also, consider adding a little wax to the polisher before applying the compound to amplify the effect.
Another key point you should remember is to work in small regions of the car’s surface. It’s easy to get overwhelmed when you begin to remove the buff marks from your car, as there’s a large surface area to go over.
However, focusing on specific areas ensures you don’t create more buffing marks while attempting to remove others. The last thing you want to do is create more marks on your car when you’re in the process of removing them.
Wipe a region using a microfiber cloth after applying the compound and inspect it to confirm the marks are gone. If they’re not, repeat the procedure a few more times to remove them completely.
Once you complete these steps, you should expect a smooth car surface with no buff marks. You can observe the car’s exterior using an LED light source to reveal that the buffing marks are gone.
Ensure you select quality buffing products suitable for your car because the more profound the scratches, the more abrasive compound you require. Selecting a polish compound without accounting for the depth of the swirl marks results in substandard buffing marks removal that’s costlier in the long run.
7. Seal the Car’s Surface With a Wax Coating
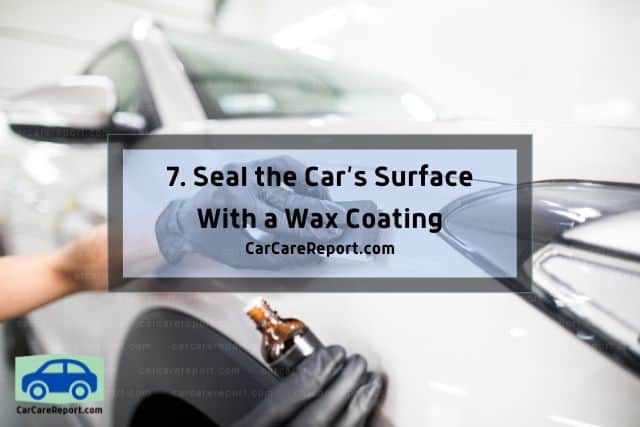
The final step of the buffing marks removal process entails protecting the hard work you have done by removing the marks. Ensure you seal the car surface with a wax coating or sealant to protect against adverse elements and keep the shiny finish.
The wax coating acts as a protective layer against direct sunlight and the grime and dirt you encounter every day while using your car.
Another important thing you should remember is that the sealant or wax coating’s quality matters significantly. Get a quality sealant that offers lasting protection and maintains your car’s shiny finish. Quality wax coating is also essential because it minimizes the chances of new buffing marks developing.
Final Thoughts
Removing buffing marks from your car is satisfying because it restores your car’s beauty and glamor. It also increases the vehicle’s resale value by maintaining quality and shiny paint finishing. Buffing marks removal involves a procedure with simple steps, provided you have adequate time and the necessary supplies, including cleaning equipment and products.
Therefore, you should remove the buffing marks any time you see them; it prevents significant damage to your car’s paintwork.
First published on Sep 22, 2022 by CarCareReport.com.
However, should you lack the time or skill to remove buffing marks yourself, consult a qualified professional to help you restore your car to its desired state.
Related Articles
5 Ways To Remove Hard Water Spots From a Car
Waxed vs. Unwaxed Car: 13 Important Differences
How To Hide Swirl Marks on a Car (DIY Guide)
Is Ceramic Car Wax Worth It? How To Decide
CarCareReport dot com first published this article on Sep 22, 2022..