Swirl marks are the sworn enemy of a good paint job on a car, so it makes sense that you’re eagerly searching for a way to remove them and restore your car’s aesthetics. Luckily, hiding swirl marks is a relatively straightforward task that pretty much anyone can accomplish with little prior knowledge.
Here’s how to hide swirl marks on your car:
- Gather the tools and equipment needed for the job.
- Deep clean the car.
- Choose the right polish.
- Apply the polish.
- Apply wax or sealants for protection.
- Store the car correctly.
Continue reading the complete DIY guide on hiding swirl marks on a car. I’ll guide you through the entire process so you can get the task done no matter your experience level. I’ll even touch on some preventative measures you can use to prevent swirl marks.
1. Gather the Tools and Equipment Needed for the Job

As with any DIY job, the first thing you’ll need to do is assemble the right gear for the task at hand. I’ll explain some of the equipment below and some in further detail later in the guide.
Here’s a list of the equipment and tools you’ll need:
- Buckets
- Water
- Soap
- Car shampoo
- Appropriate polish
- Wax or sealants
- Dry cloth
- Wet cloth
- Clay bar
- Decontamination chemicals
- Polisher
You likely have most of these materials already in your home. But if this is your first time removing swirl marks, you’ll probably need to buy polish, clay bars, a polisher, etc. Most of these materials are available to buy from your local garage or mechanic. If you can’t find them locally, see below for some recommendations:
- IPELY 4 -Pack Clay Bar is an affordable pack of clay bars that you can use during the cleaning process. Clay bars offer excellent results and can be very helpful in removing swirl marks. Each clay bar in this pack of 4 weighs 100g.
- BLACK+DECKER Orbit Waxer/Polisher is an entry-level polisher ideal for your first time removing swirl marks. This small-sized polisher is very affordable while still offering consistent and effective results.
- Chemical Guys Car Wash Soap is a best-selling car shampoo. This soap is excellent for removing all dirt and contaminants from your car’s paint. The best part is that it comes PH-balanced, allowing it to clean your car without stripping away wax or staining rubber and plastic parts. This product is also available at a relatively affordable cost and comes concentrated, so you don’t have to use a lot of it per wash.
Once you’ve shopped around or ordered the equipment you need online, you can proceed to begin washing your car to remove those stubborn swirl marks.
2. Deep Clean the Car

Before using treatments to remove the swirl marks on your car, you first must prepare the surface. To do this, you’ll need to give your vehicle a good clean. The best way to clean the outside of your car is by using a bucket of water, a cloth, and some soap (ideally, car shampoo).
It’s essential that you don’t use any car shampoos that contain wax or gloss. These components may interfere with the polish later on in the process.
Depending on the finish of your car’s paint job, you could use a pressure washer to clean the surfaces. However, you should not go to an automatic car wash if you plan to use treatments like polish to remove swirl marks.
It’s crucial that you remove all contaminants from the surface of your car. The best way to achieve this at home is by using a clay bar after washing to ensure that all dust and dirt are removed. Small pieces of dirt and dust can cause harm to your car’s paint job during polishing.
To achieve excellent results from this process, consider investing in chemicals that offer further decontamination to the paint surface. Apply these chemicals before using the clay bar on the car to break down any waxes or sealants currently on the vehicle.
If you leave sealants or waxes on your car, the polish may not penetrate through them to reach the paint underneath. As a result, the swirl marks will remain on your car’s paint.
After thoroughly washing the outside of the vehicle, dry the surfaces with a clean, dry cloth. Do not leave the wet car to dry outside, as this may leave marks.
3. Choose the Right Polish
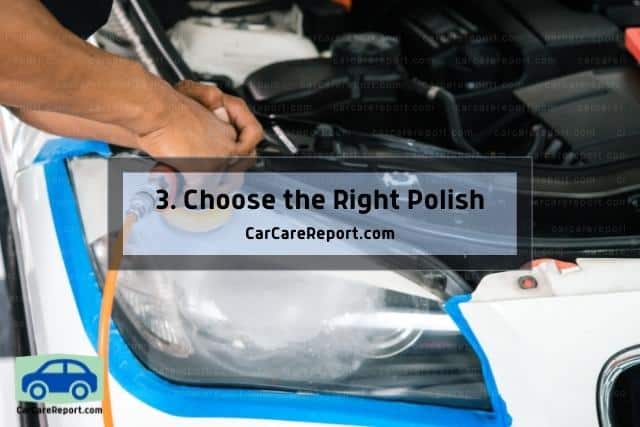
With the car clean and dry, the next step is choosing the right polish. Not all car polishes are the same, so you’ll need to be careful when making this decision.
To help you choose right, here’s a breakdown of the factors to consider when choosing polish for your car:
The Finish on Your Car’s Paint
The main component that you’ll need to consider is whether there are any treatments or sealants already applied to your paint job. For instance, ceramic coating on your paint may require you to use a particular variety of polish to remove the ceramic coatings before you can access the swirl marks on the car.
Polish Quality
Quality is also an essential consideration. If you’re only removing minor swirl marks, a lower-quality polish may suffice. But if you’re up against deeper marks or want to guarantee excellent results, selecting a high-quality polish may be the only choice.
Price
As with any other purchase, price is going to make a difference in the polish that you choose. If you are on a tight budget, you can opt for a good value for money polish. In contrast, you can choose a premium quality car polish that’ll cost extra but ensure better results if keeping expenses low isn’t a priority.
Throw
The throw of a polish describes the coverage it offers as you spray it onto your vehicle. A wide throw means that a larger surface area can be coated at a time when polishing, reducing the time it takes for the job. On the other hand, smaller throw polishes allow for accurate results to specific areas of your car.
Spray Speed
Polishes come at various spray speeds. Some polishes also offer variable spray speeds that typically range from 300 rpm to 6,000 rpm. The differences in apart speeds allow you to get even coverage and consistent results. Typically, you should start at a slow pace and finish at a high rate for the best results.
After taking all of these factors into account, you’re ready to purchase the suitable polish to remove your swirl marks. Typically, you won’t need much polish for your car; however, these products are non-perishable, so buying a more considerable amount will mean you have some leftover for subsequent polishing.
4. Apply the Polish

Now that you’ve gathered the gear and polish for the job, it’s time to get down to the application. Applying polish is not a complicated task. However, many people make some basic mistakes when they first attempt this task.
Follow these steps to apply polish to your car after preparing the surface :
- Place small circles of polish onto the polisher pad.
- Turn on the polisher and start using the polish in circular motions.
- Continue until polish is evenly distributed across the surface.
- Reapply polish at a higher speed to remove swirl marks.
- Repeat across all prepared surfaces of the vehicle.
If you’ve successfully prepared the car’s surface and removed all contaminants, your polishing will be a success. Small amounts of dirt will scratch your vehicle further when you apply the polish. If you notice any scratches appearing during polishing, stop immediately and prepare the surface again.
If the polishing was successful, the car’s paint job will be free from swirl marks, and the paint will have a shiny finish. Some people choose to stop the process here, but this puts your car’s paint at risk of quickly developing imperfections like swirl marks again. You need to add some protection for your vehicle’s aesthetics, which brings us to the next step.
5. Apply Wax or Sealants for Protection
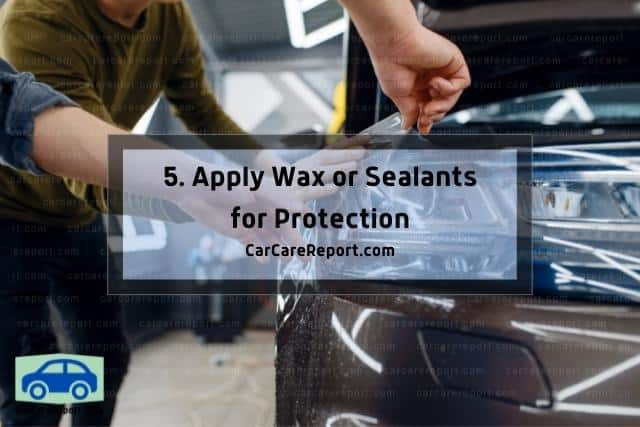
Wax and various other sealants are used to add a protective barrier around your car that protects it from minor scratches and swirl marks. Wax and sealants are applied after polishing. However, how long you need to wait after applying polish depends on your choice of protection.
See below for some common choices of wax and sealants that you can use after polishing:
- Wax.
- Ceramic coating.
- Clear coating.
- Paint protection film.
- Graphene coating.
- Hair conditioner.
Here’s a description of each sealant to help you choose right:
Wax
Car wax is affordable and readily available. It’s also easy to apply at home yourself without specialized equipment that’s often needed with alternatives. You can achieve good results using car wax, although it won’t last anywhere near as long as alternatives like ceramic coating.
CarCareReport dot com is owner of this article and was first posted on Sep 23, 2022 and was updated on ..
Ceramic Coating
Ceramic is a very popular scratch-resistant coating for your car. Professionals typically apply this sealant, but DIY applications are possible. The ceramic coating prevents swirl marks provided the vehicle is stored and cleaned correctly. It offers a few years of protection when properly applied, making it an ideal choice if durability is a priority.
Clear Coating
Clear coating is another spray-on coating that has appeared in recent years. Clear coating is an acceptable way of ensuring that your car’s paint remains flawless, provided you don’t have a crash. This type of coating binds to the vehicle on a molecular level and offers superior protection to other methods. However, clear coating is expensive and will likely require professional application.
Paint Protection Film
Paint protection film does exactly what it says on the tin: it’s a thin, usually transparent plastic film that tightly wraps around your car’s paint. This film offers some scratch protection along with excellent swirl mark protection. It’s also one of the more budget-friendly sealants you can use.
Graphene Coating
Graphene is a ridiculously strong material, so spray-coating your car with it will provide an epic protection barrier to the paint job underneath. Graphene coating is one of the most durable coatings you can add to your car. The caveat is that it comes at a higher price than most other options.
Hair Conditioner
Believe it or not, some people swear by using hair conditioner in place of car wax. While I’ve not attempted this method myself, many have had great success. You can also make your own DIY car wax using natural wax like beeswax and a double boiler.
Whatever variety of wax or sealant that you choose for your car’s paint will offer different advantages and disadvantages. The most durable and highest quality sealants are graphene and clear coating, but these come at a premium. If you’re on a tight budget, go with car wax; it provides the best bang for your buck.
6. Store the Car Correctly

The final step in removing swirl marks from your car is finding an appropriate way of storing the vehicle. Depending on the wax or sealant you chose for the finish, your vehicle may have different storage needs to retain aesthetics.
The general rule is to store your car out of direct sunlight in a cool space, especially if you’ve used ceramic coating on your car. Ceramic coating degrades when exposed to UV rays for extended periods, potentially compromising your car’s aesthetics.
You may also want to keep the car sheltered from rain and wind. Depending on which sealant you use, these two weather elements may cause watermarks to form.
Final Thoughts
Swirl marks can spoil your car’s aesthetics. This is especially infuriating if your car’s paint would otherwise be flawless. Luckily, swirl marks are relatively straightforward to remove with just a few pieces of equipment and gear.
First published on Sep 23, 2022 by CarCareReport.com.
Just remember to follow these key steps to remove swirl marks from your car’s paint:
- Thoroughly clean the car surfaces.
- Use a clay bar to remove all contaminants.
- Apply the polish to remove the swirl marks.
- Use wax or sealant for protection.
- Store your vehicle correctly, notably away from direct sunlight.
Related Articles
How To Remove Buffing Marks on a Car
5 Ways To Remove Hard Water Spots From a Car
Waxed vs. Unwaxed Car: 13 Important Differences
Is Ceramic Car Wax Worth It? How To Decide
CarCareReport dot com first published this article on Sep 23, 2022..